Types of climbing shoes: From aggressive to neutral
Understanding the differences between climbing shoes is important before you buy. From beginner to advanced, there are different styles of shoes, so you'll want to ensure you purchase the correct pair for you.
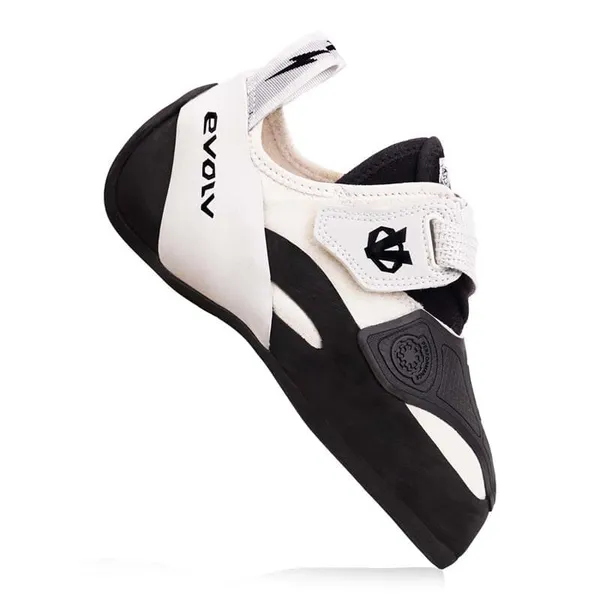
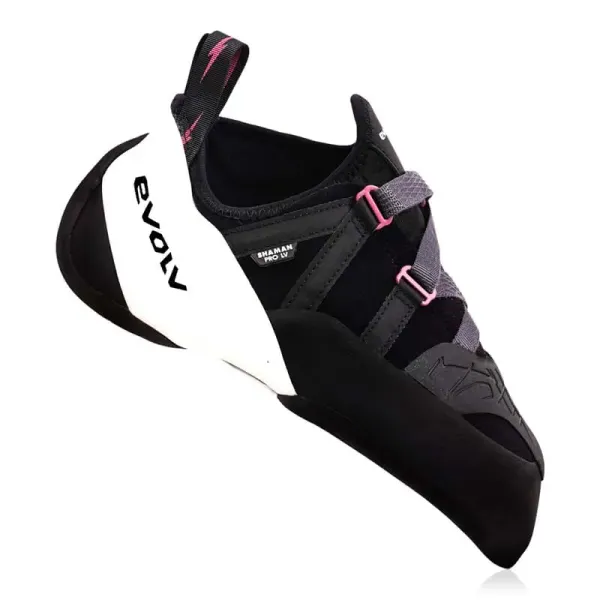
Aggressive: Aggressive climbing shoes can be described as downturned. Imagine the curve of a banana. Many advanced climbers use aggressive climbing shoes because they're great for steep and technical routes.
Neutral: Neutral climbing shoes are flatter and are more suited for beginners because they perform well but don't force your foot into painful positions.
The relationship between climbing shoes and performance
Climbing shoes are directly correlated to how you will perform on specific boulders. Whether you're climbing slab, vertical, or overhung problems, there is a style of climbing shoe for each. If you're unsure where to start or want something to do it all, you can grab an all-around climbing shoe. This will be somewhere in the middle of neutral and aggressive and may not perform the best on either, but it is a good option if you want to get a single pair.
Climbing is heavily dependent upon the gear that you use. If I were climbing a crack that requires stiffer shoes for jamming my feet, I wouldn't choose a soft slipper-style climbing shoe. Instead, I'd choose something with a harder sole that didn't bend as much to save my feet from pain.
Choosing your climbing shoes will also depend on personal preference. What I like may not be what you prefer, and vice versa. Regardless, there are pros and cons to choosing different climbing shoes.
A common challenge with new climbing shoes is that they are too painful! If you ordered a pair online, confirm that you have the correct size for your foot before breaking them in. Also, double-check the return policy before you begin; some companies don't allow returns/exchanges on shoes that have been climbed in.
How to break in climbing shoes: The art and science
Now that you've found the pair, it's time to start the break-in process! Some of these will seem obvious, while others may be just outside the box, but I've been told they work!
I opt for the gradual wear method below, where I just wear my shoes and deal with the pain until they mold to my feet. But after researching all the different ways to break in climbing shoes, I may have to change it up for my next pair!
Check out these 8 methods below to help you break in your climbing shoes.
Method 1: Gradual wear
The gradual wear method requires you to wear the shoes for short durations during climbing sessions or even while doing everyday activities at home. This gradual exposure helps the shoe mold to the unique contours of your feet without causing excessive discomfort. Short durations mean removing them after each climb, or each lap you do around your home.
Method 2: Manipulate with hands
To expedite the break in process, use your hands to flex and manipulate the shoes, especially around the toe box and heel cup. Squeezing and contorting these areas can help soften the stiffness and accelerate the shoe's adaptation to your foot shape.
Method 3: Use climbing techniques
Incorporate various climbing techniques into your sessions, such as smearing, edging, toe hooking, etc. This method will not only help you practice your climbing skills but also encourage the shoes to conform to your feet as you perform different moves.
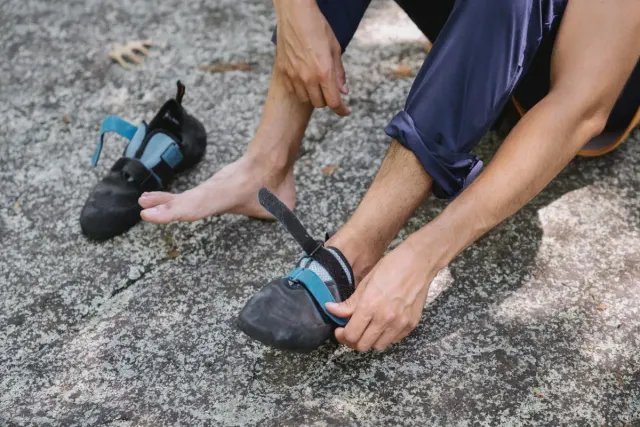
Method 4: Adjust straps and laces
Experiment with tightening or loosening the straps and laces to find the optimal balance between comfort and performance. Fine-tuning the fit can alleviate pressure points and ensure a snug yet comfortable feel during climbs.
Method 5: Plastic wrap
This one sounds funky, right? It makes sense, though, I promise. Wrap your foot in plastic wrap or use a plastic grocery bag when wearing your shoes as you break them in. The plastic will create a barrier between your feet and the shoes, minimising the rubbing caused by breaking them in!
Method 6: Freezer method
I told you we'd get into some science! Consider trying the freezer method if you don't plan to climb in your new shoes right when you get them.
Fill up two zip lock bags of water similar to your foot size and stick them in your climbing shoe. Adjust the laces or straps to where your foot would be in them, and stick the shoes in the freezer overnight. Water expands when it freezes and will help stretch your shoes! Wait for the ice to melt before removing the bags from your shoes.
Method 7: Shower method
Rock climbing shoes break in because our feet get sweaty and hot, which makes the material more malleable. To speed up this process, wear your climbing shoes in the shower under warm water. Simply fill a bath with warm water if you don't want to get all wet. Sit for 5-10 minutes and get your feet soaked.
Afterward, walk around for about 10 minutes. The heat and walking around will help your shoes mold to your feet.
Method 8: Hairdryer
Similar to the shower method, except without all the water, use a hairdryer to heat up your climbing shoes. Wait until they're warm enough and malleable, then walk around in them while they form to your foot shape.
Breaking in synthetic vs natural leather climbing shoes
Your shoes will break in differently depending on the material they're made from. If you need help determining what your climbing shoes are made from, you can check the spec sheet on that brand's website. This will help you understand what you're in for when trying to break them in.
Synthetic and natural leather are the two materials you'll mostly find in climbing shoes.
Natural leather will stretch more than synthetic and require a longer break in period.
Leather uppers stretch anywhere from a half to 1.5 times their original size (unlined leather also stretches more than lined leather). When choosing leather shoes, many climbers downsize them because of how much they stretch. Many people even claim the best fit for a leather shoe comes after they've had it resoled a few times!
Since synthetic uppers stretch very little, you'll want to avoid downsizing (no more than a half size) if you go with this option. This material will only stretch a little, so try to size them to fit your feet right out of the box. The break in period will also take longer before they're molded to your feet.
How long does it take to break in climbing shoes?
How long it takes to break in climbing shoes will ultimately depend on how long you spend wearing them. If you try the gradual wear method, your shoes will break in faster than if you just use your hands to make them malleable.
Commonly, breaking in climbing shoes takes a solid 3-5 sessions before they feel good on the feet. After this, they should mold to your specific foot shape and create a one-of-a-kind fit. Remember that synthetic shoes may take a little longer than leather shoes to break in, so don’t give up if you’re still hurting after a few sessions.
Tightness and discomfort: The initial hurdles
Listen to your feet
Pay close attention to any discomfort or hot spots while wearing your new shoes. If you experience pain or excessive pressure, take breaks and adjust the fit to prevent discomfort or injury. You can mess with the tightness of the laces or straps to give your feet more room where they need it.
There's no need to power through the pain and avoid blisters at all costs as they can take a long time to heal. Let your feet take a break!
Alternate shoes
If you have another pair of climbing shoes, consider alternating between them during sessions. This allows your feet to rest and recover while gradually breaking in the new shoes. Plus, it still lets you climb while taking a break from the pain of breaking in the new pair.
Consider socks
Wearing thin, moisture-wicking socks can provide a barrier between your feet and the shoes, reducing friction and minimising the risk of blisters during the break in period. This will also make your shoes stretch a little faster but may be more painful because you'll have more room volume inside the shoe.
Be patient
Breaking in climbing shoes takes time and effort. It requires patience and persistence to balance comfort and performance perfectly. Allow sufficient time for the shoes to adapt to your feet naturally, and don't rush the process.
Proper storing and cleaning techniques
Storage
Storing your shoes in the proper place is essential for keeping their integrity and durability. When shoes are kept in a climate that is too warm, the glue holding the rubber together can melt, resulting in an awful delamination issue.
Avoid storing your shoes in sunlight or in a hot climate, such as the trunk of your car! Opt for a cool place for storing.
Cleaning
Cleaning your climbing shoes is quite simple. Even though some brands don't recommend it because they believe it can affect the integrity of the glue, others are all for it. Many of us have thrown tennis shoes in the washer and then listened to them bang around in the dryer, but this is a different and quieter cleaning method.
Always clean hand! Grab a small brush (a toothbrush is perfect; just don't use it on your teeth afterward) and gently scrub the inside of the climbing shoes with running lukewarm water. A toothbrush is the perfect size to get all the way to the toes of the footbed. Keep a small rag close to scrub larger parts of the outside of the shoe, too. Then let them air dry, and voila, no more stinky climbing shoes!
Through the pain barrier
Breaking in climbing shoes is essential in ensuring both comfort and performance on the wall. Following a methodical approach and using the tips provided, you can effectively break in your new shoes while maintaining their fit and functionality. Remember to prioritise the health and comfort of your feet throughout the process, as happy feet lead to confident climbs.
Since breaking in shoes can be a pain, literally, I hope you've found some tips to use for your next pair that may change how you break in your climbing shoes. I recommend researching the type of materials used in the shoe before you buy so you get the right size. Grabbing a leather pair that fits perfectly now won't seem great when they're broken in and too big, so do your research!
Once your shoes are broken in and you can stand in them without wincing, you're off to climb great things! Remember to choose the style of climbing shoe suited for the kind of climbing you want to do, or just get a good all-arounder.
Do you have any tips for breaking in shoes that we missed? Leave us a comment and let us know your favourite way to break in your climbing shoes!
Gear from this guide
Live stock from the Boulderflash shop — the shop is closing, everything 80% off while it lasts.