Finger strength training: How to get strong fingers
The importance of finger strength for climbers
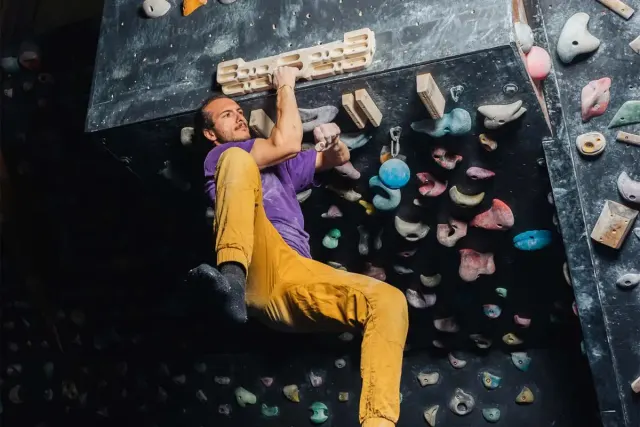
It’s obvious that our fingers play a crucial role in climbing, right? Have you ever come across a photo of someone clinging to a hold using only the tips of their fingers? Believe it or not, it happens!
Finger strength is crucial in climbing, especially if you aim to climb hard. While some routes offer generous, open-handed holds, others feature razor-thin grips that resemble the width of a credit card. Aptly referred to as "credit-card holds" (creative, right?)
While overall fitness is beneficial for climbing, the importance of finger strength for climbers cannot be overstated. Having strong fingers allows climbers to navigate these credit-card holds and conquer challenging routes with greater ease.
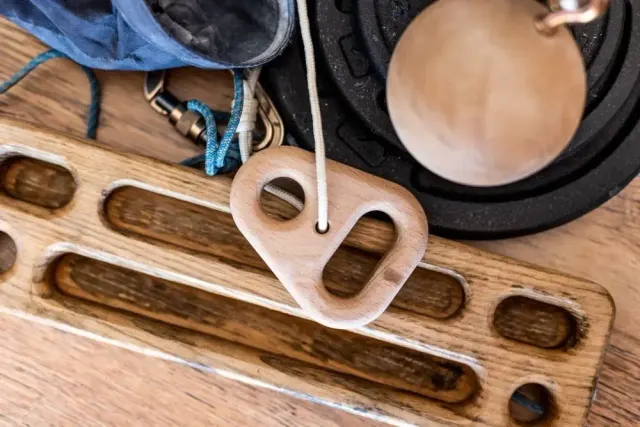
Hangboard training

Hangboards, also known as "fingerboards," are crafted from wood, polyurethane, or polyester resin, featuring various holds intricately carved into their surface. Engaging in hangboarding provides a secure environment to practice utilising different holds effectively.
Imagine reaching for a sloper, expecting a comfortable jug, only to find yourself unsure of how to grip it. By training on a hangboard, you can avoid such surprises and develop a solid understanding of hold types.
Hangboarding serves as an excellent method to enhance your finger strength, too. While performing hangs, it's crucial to maintain proper form to prevent injuries. Keep your shoulders relaxed and away from your ears, engage your shoulder blades, and slightly bend your elbows.
If you choose to add weight to your hangs, it's recommended to attach it to the belay loop of your harness rather than wearing a weight vest. The use of a weight vest can alter your body's orientation during a regular hang.
Hangboard exercises
Hang on progressively smaller holds
Begin with 10 sets of hangs on 5 different holds. Start with larger holds and gradually progress to smaller ones, challenging your fingers accordingly.
Max Hangs
Test your limits by gripping the most challenging edge you can manage for 7-10 seconds. Allow yourself approximately 3 minutes of rest before moving on to the next repetition.
Repeaters
Emulate the experience of reaching for the next hold during a climb. Hang for a specific duration, such as 7 seconds, followed by a short rest period of 3 seconds. Aim to complete this cycle for 4 minutes or until failure. If necessary, utilise a pulley-and-rope setup to reduce weight and effectively complete the entire workout.
Long Duration
Enhance your endurance on longer routes by incorporating long duration hangs. Hold on for 30-60 seconds at a time, simulating the sustained grip required for extended periods. This exercise aids in building the stamina necessary for tackling longer climbs.
Want to learn more about hangboarding? Check out our detailed article on hangboarding for beginners.
Antagonistic muscles
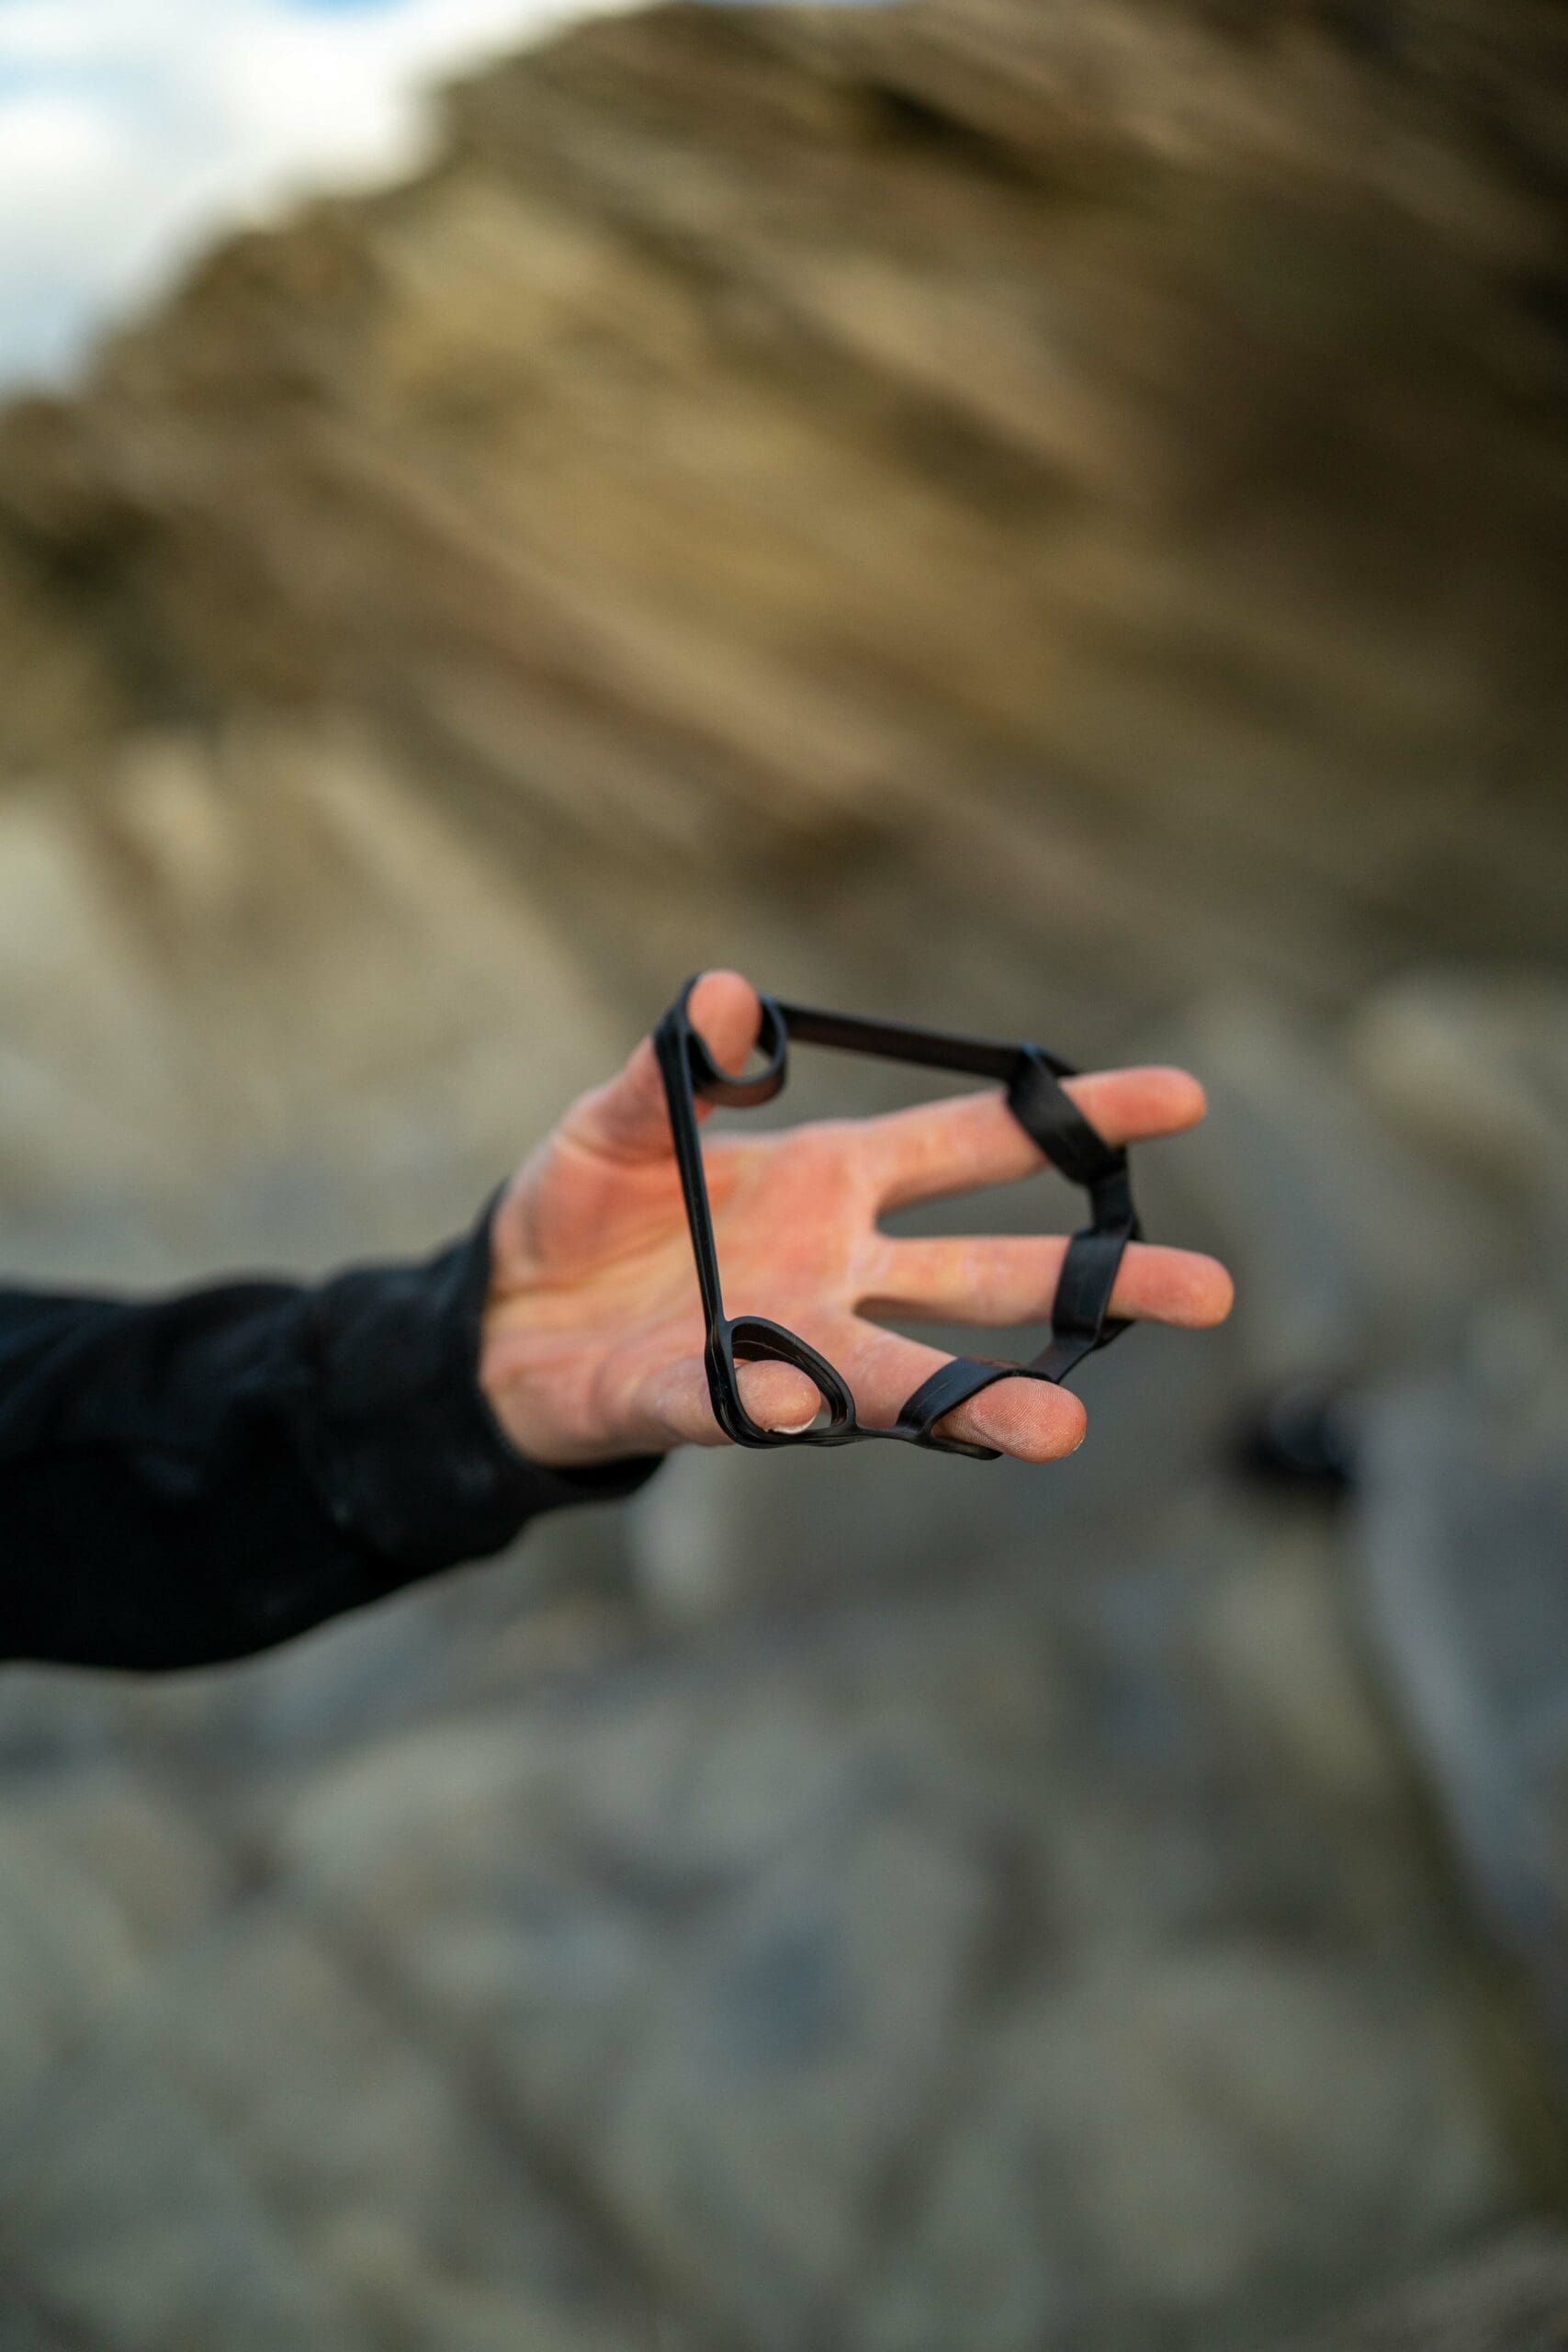

Similar to many climbers, I used to neglect my antagonist muscles (a muscle that opposes another), but I'm actively improving! It's important to give our fingers' antagonist muscles fair attention too. After all, you wouldn't want to walk around all day with claws hands, would you?
To target these muscles effectively, you have a couple of options. You can use a regular rubber band or invest in a specific workout tool that allows you to place each finger in its own compartment. These bands come in various strengths. I recommend starting with the easiest one.
The exercise involves opening your hand and extending all your fingers, while the band tries to force it closed. Hold your hand fully open for a second or two before closing it and repeating the movement. Aim for 3 sets of 10 repetitions or continue until you reach failure. Personally, I prefer going to failure. Sometimes I surprises myself with how many reps I can complete.
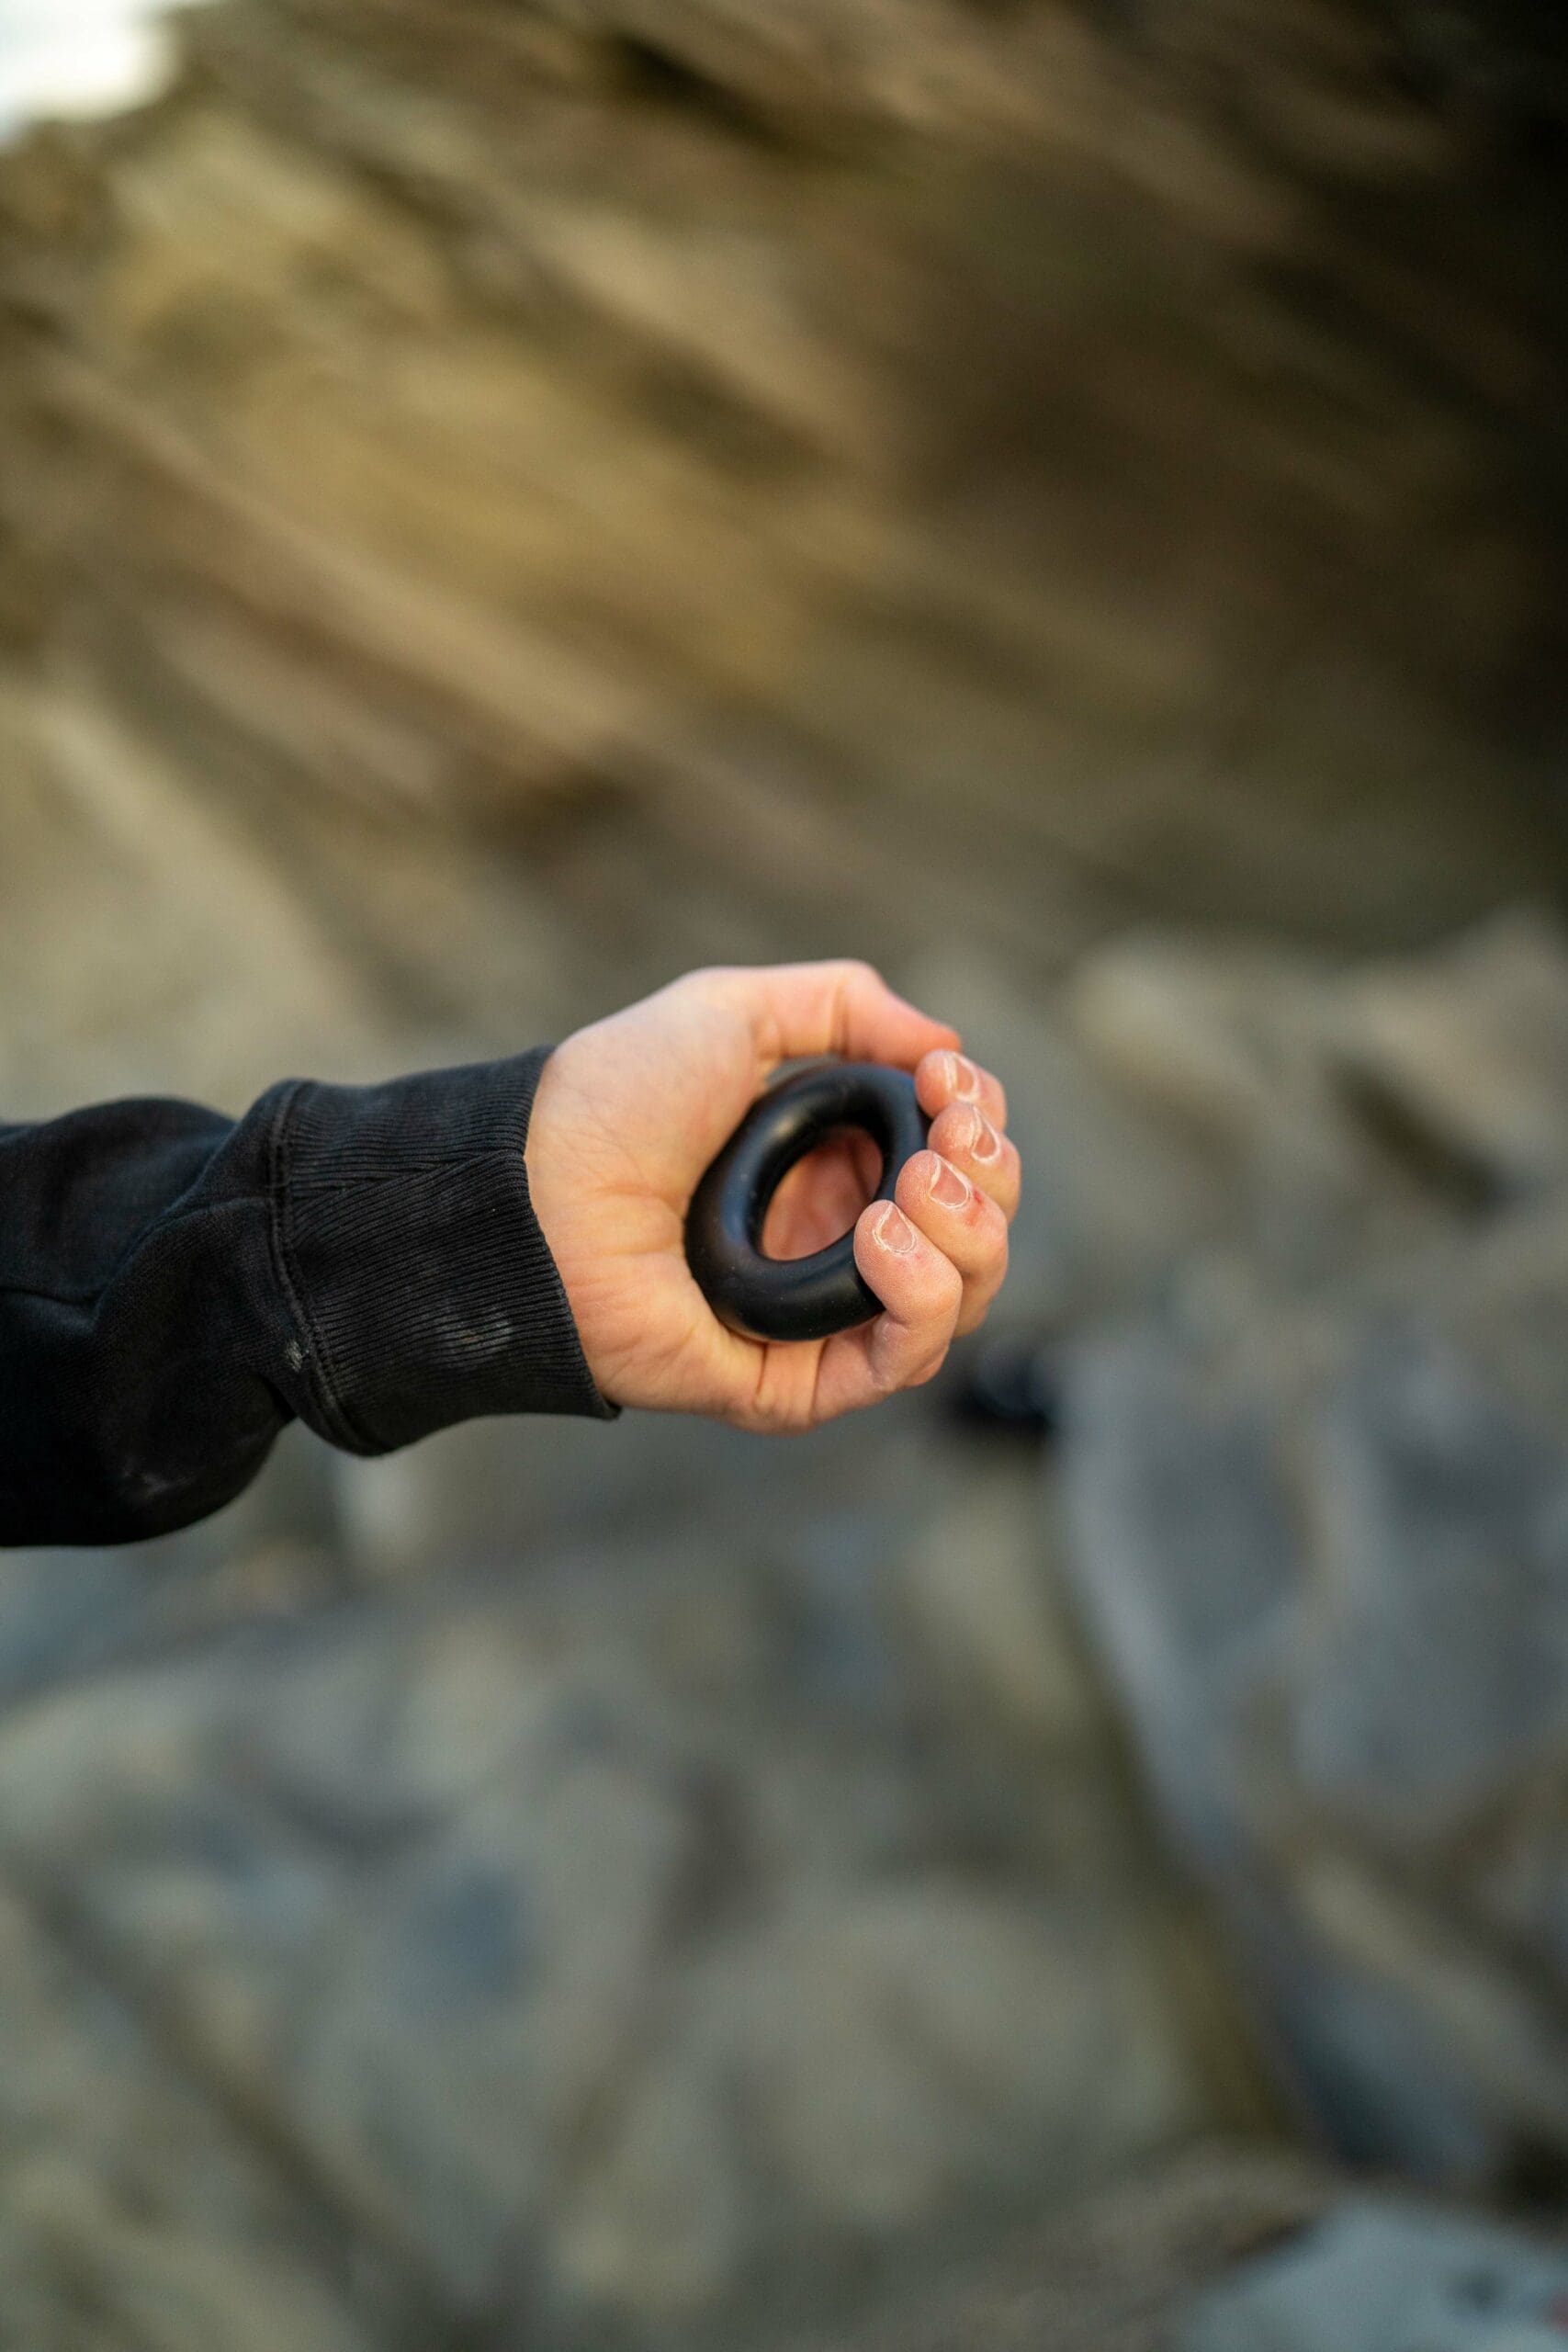
While an exercise ball doesn't directly target your antagonist muscles, it provides an excellent workout for your fingers and forearms with minimal equipment required. You'd be amazed at the forearm pump you can achieve using an exercise ball!
You can use a stress ball during any mundane task at home, and it's easily portable. Squeeze the ball until failure, counting the number of squeezes you can perform. Remember to pause briefly when your fist is closed before moving on to the next repetition.
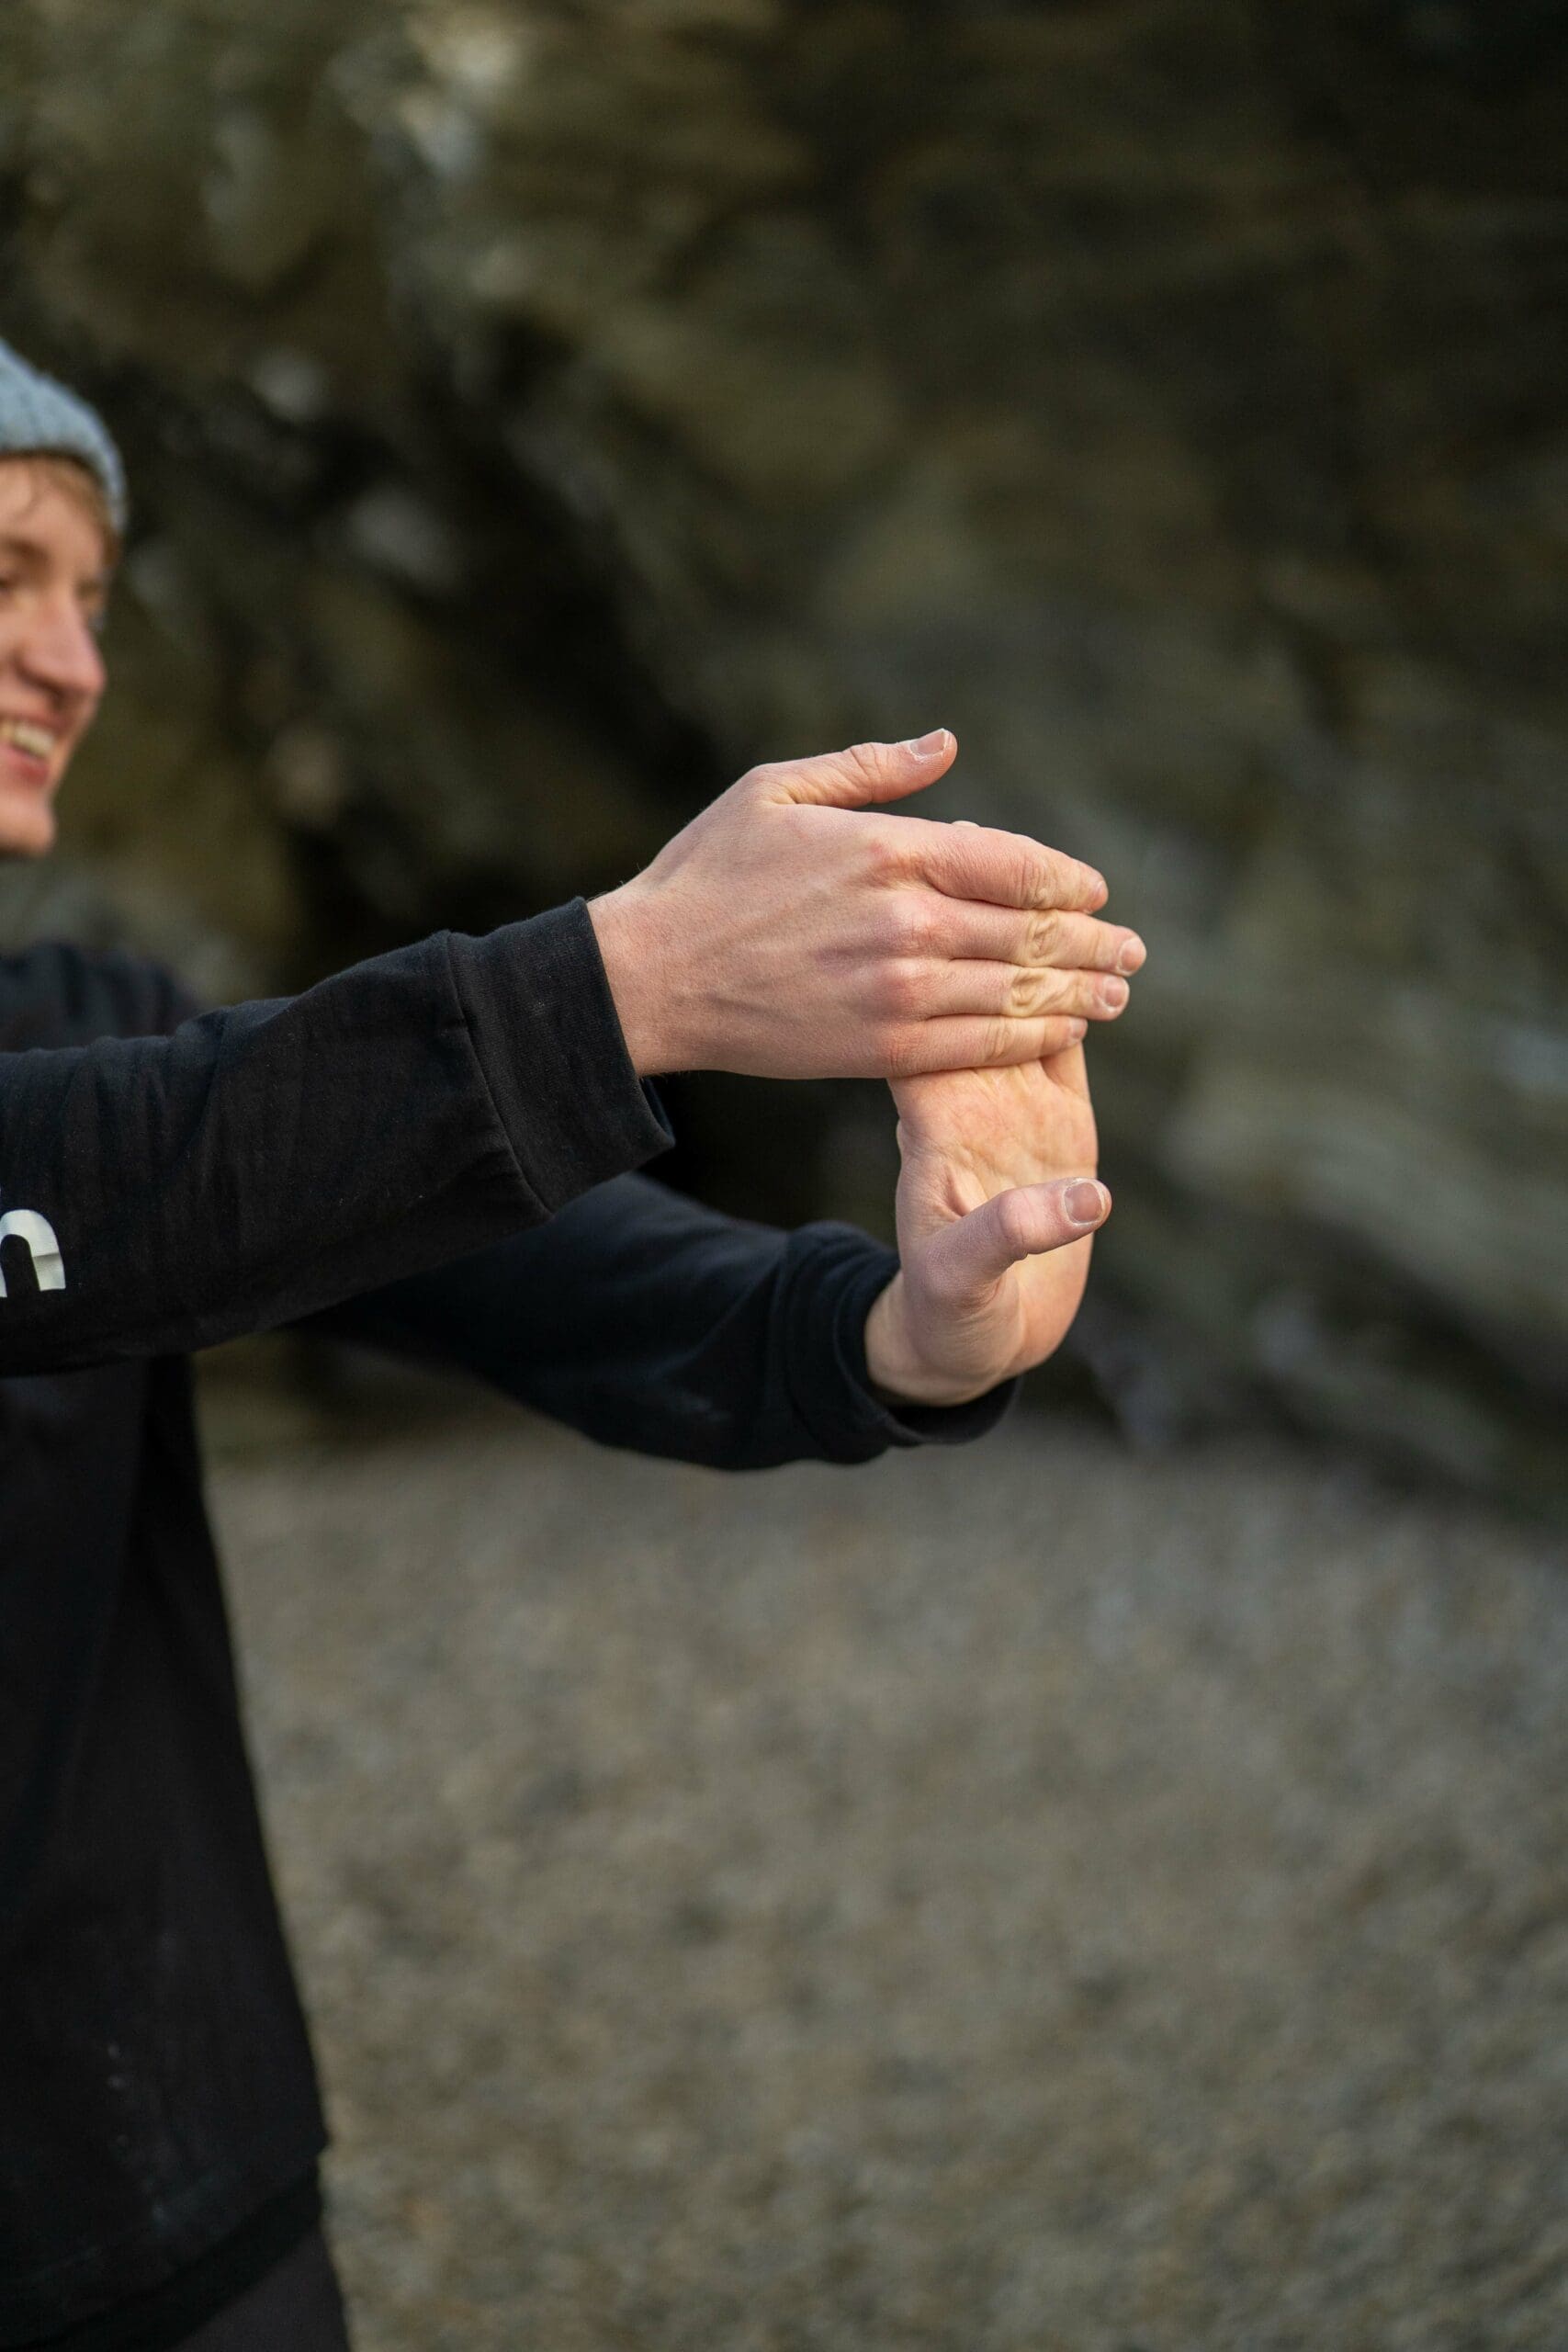
Finger training warm-ups

To prevent injuries and increase bloodflow, it's crucial to prioritise proper warm-up routines and listen to your body. If something feels off or unusual in your finger, it's wise to avoid pushing yourself to climb at your limit, especially on demanding crimps.
Incorporating a few sets of wrist rotations and tendon glides into your warm-up routine can be highly beneficial. These exercises help to improve blood flow through your fingers, promoting better finger health and reducing the risk of injuries.
When starting your warm-up, begin by hanging on larger holds while keeping your feet on the ground. This approach allows your fingers to adapt gradually without subjecting them to excessive stress.
As you progress through your warm-up, gradually lift your feet off the ground and transition to smaller holds. This progressive approach minimises the chances of shocking your fingers and prepares them for more challenging climbs.
Remember, taking the time to warm up properly and being attuned to any discomfort or unusual sensations in your fingers can go a long way in preventing injuries. By incorporating appropriate warm-up exercises and gradually increasing the difficulty, you can optimise blood flow and prepare your fingers for the demands of climbing while minimising the risk of harm.
Other exercises to get stronger
You don't need fancy equipment to take your climbing to the next level. With just a pull-up bar or a hangboard, you can perform various bodyweight exercises that will greatly benefit your climbing abilities.
Prior to starting your workout, I recommend warming up for 5-10 minutes with jump rope or any cardio activity of your choice to get your blood flowing. Jumping jacks, jogging, or even breakdancing!
Begin with the basics and aim for 3 sets of 10 repetitions for each exercise. You can target different muscle groups by performing various variations of these exercises:
Push-Ups: Explore different hand positions like wide, close, military, or diamond. You can even challenge yourself with one-handed push-ups if you're up for it!
Pull-Ups: Vary your grip width with wide, close, or reverse grips. A resistance band to take off weight is a great investment if you’re struggling with completing your pull-up exsercise.
Squats: Experiment with wide, close, split, or pistol squats to target different muscles and improve your leg strength.
Planks: Planks are highly effective for core strength. Mix it up by trying side planks, forearm planks, shoulder taps, alternating between forearm-to-full planks.
Consistency is key when it comes to seeing positive effects from your workout routine. Aim to perform these exercises regularly, and you'll notice improvements in your climbing performance over time.
If a workout feels too challenging, don't hesitate to modify it to fit your current ability level until you can perform the exercise properly. Aim for 3 sets of 10 repetitions, and if an exercise becomes too easy, consider wearing a weight vest with interchangeable weights to continue progressing with minimal equipment.
Remember, proper form is essential during exercises. Focusing on maintaining correct form not only ensures you reap the full benefits of each exercise but also helps prevent injuries. If you're unable to perform an exercise with proper form, dial it back and work on mastering the correct technique before progressing further.
Training program
Creating a training program can be overwhelming. Below is a suggested training schedule that you can use as a basis for your own program. Remember to incorporate light cardio and stretching for warm-up before each session:
Monday - Climb/Core
Tuesday - Legs/Finger Training
Wednesday - Rest
Thursday - Climb/Pull
Friday - Core/Finger Training
Saturday - Rest
Sunday - Push
Feel free to adjust the schedule based on your climbing frequency but ensure you allow your fingers a day of rest after finger training. Overloading your fingers without adequate rest can lead to potential injuries.
Please note that this is a beginner's guide and serves as a foundation for developing your personalised training regimen. It's essential to listen to your body and adjust as needed. If you're not feeling your best, don't pressure yourself to push through a workout or visit the climbing gym just because it's part of your routine. Listening to your muscles and prioritising injury prevention is crucial for long-term progress.
Remember, training should be a balance of challenging yourself and giving your body the rest it needs to get stronger. By being mindful of your body's signals and incorporating proper rest and recovery, you'll be on your way to achieving your climbing goals safely and effectively.
Final thoughts
Developing maximum finger strength for climbing requires consistent finger training, targeting both your strengths and weaknesses. Not fond of slopers? Train slopers. Not psyched on pockets? Train pockets. You get the idea.
Elite climbers recognise their weaknesses and dedicate time to strengthen them.
To become an elite climber, dedication and hard work are essential. As you progress in your finger training, you can add weight to make the holds more challenging. Just remember to wear a harness and connect the weight to your belay loop. This ensures proper body positioning and reduces the risk of injury.
Consistency is key in finger training. Regularly challenging your fingers, gradually increasing difficulty, and addressing both strengths and weaknesses will contribute to significant improvements in your finger strength for climbing.
Remember to listen to your body, avoid overtraining, and prioritise safety throughout your training journey. Who knows, maybe you’ll be an elite climber one day!
Gear mentioned in this guide
Live stock from the Boulderflash shop — the shop is closing, everything 80% off while it lasts.


