

Bouldering is fun, but injuries aren’t! And without even realising it, we sometimes allow ourselves to fall into the victim’s team and think there’s nothing we can do about it.
But you can avoid injuries! Looking back at two pulleys, one partial SLAP tear, one partial hamstring tear, I know now I could have done a better job at preventing some of them.
Let’s find out together how to place bouldering pads and avoid climbing injuries.
Short introduction to bouldering injuries
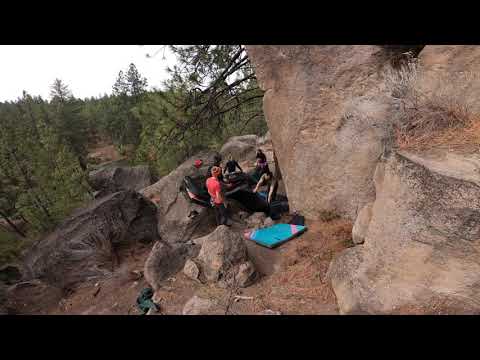
Bouldering can often feel like child’s play: you and your friends climbing on blobs in a magical forest. Few things can feel better than that.
But just like with any other game, there can be accidents. Bouldering, while it offers an intense physical and mental challenge, also carries a risk of injury due to its dynamic and high-impact nature.
Some of the injuries that are most often associated with improper pad placement and poor spotting in bouldering are:
- Broken or sprained wrists and ankles
- Tendinitis and shoulder injuries
- ACL tears, sprained hips, bruises, and occasionally back pain
Best practices on how to place bouldering pads and avoid injuries
Bouldering is cool in its simplicity: ho harness, no ropes, no belayer. Just shoes and chalk, and you’re good to go.
Overuse injuries are prevalent due to repetitive movements and poor recovery, while acute injuries often result from falls or awkward landings. Preventing bouldering injuries involves proper warm-ups, technique training, strength conditioning, and using crash pads effectively.
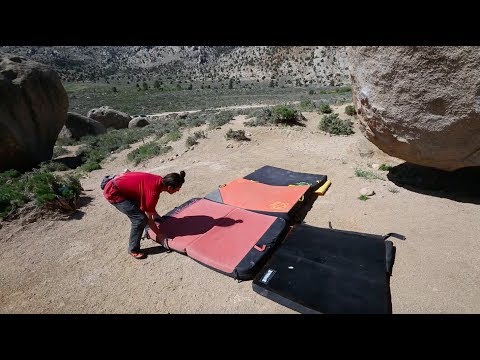
Learning how to place bouldering pads properly is one of the most important safety skills you can develop.
Assess the climb and terrain, and stay present
When it comes to bouldering pad management, there’s no one-size-fits-all rule. As a climber, it’s your job to assess the terrain, the movement, and the fall potential.
Be cautious with assumptions and stay on the safe side by being proactive when something doesn’t look quite right and you feel the need to adjust a pad. Every landing is different, and just because you place 10 pads, it doesn’t mean you’re automatically safe.
1. Anticipate the fall zone and place bouldering pads accordingly
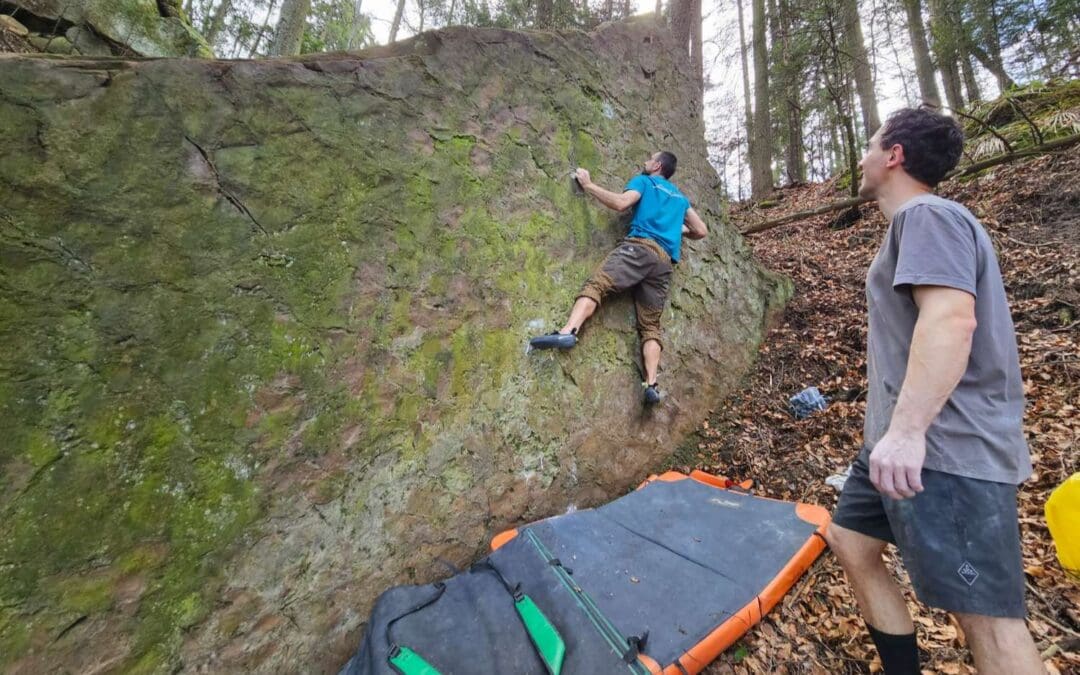
Don’t just toss crash pads under the boulder. Anticipate where a fall is most likely to send the climber based on body position, momentum, and direction of movement. Ideally, you or the other climbers should test the landing before committing to doing the move.
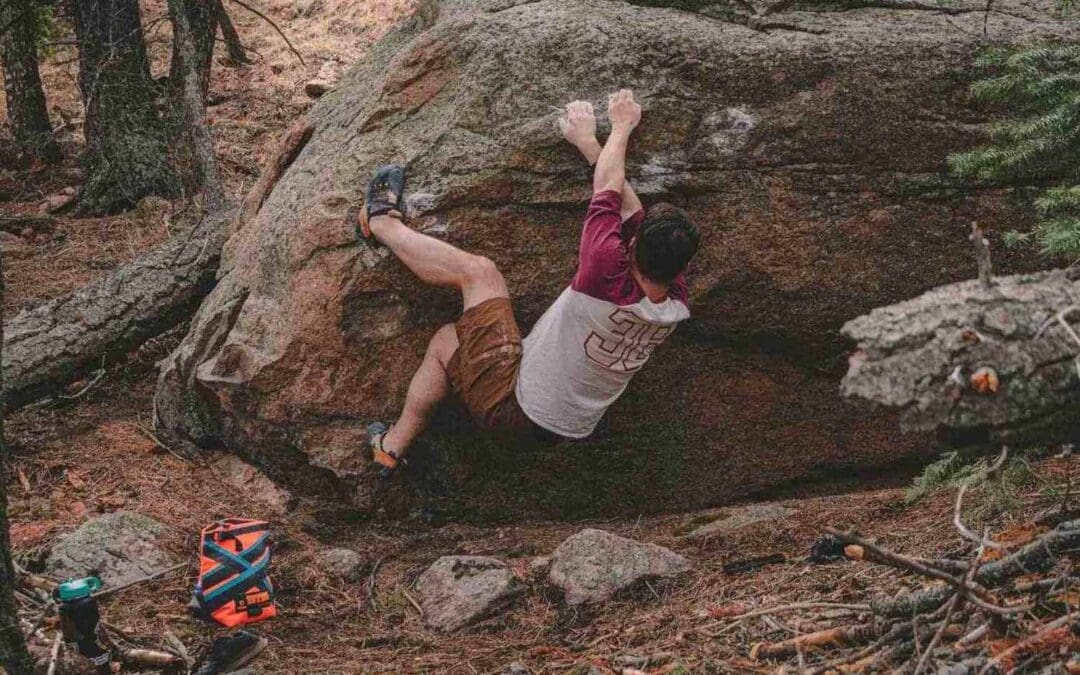
- While climbing overhangs, people tend to fall backward, so while it’s good to place a pad at the start, consider also moving the pads during the climb, as the fall is likely to occur.
- Climbing on slab problems or anything with a traverse or diagonal motion usually implies a landing several feet one way or the other.
- Sometimes it’s necessary to move and adjust the pads towards the direction the climber is moving.
2. Assess risks and avoid them with better pad layout
Before you start bouldering, make sure that all potential landing areas are covered with pads. When climbing on high boulder problems or uneven terrain, don’t hesitate to overlap pads enough to prevent gaps. If stacking is necessary, use softer pads on top so you avoid unstable surfaces.
At the same time, keep an eye on pad seams and edges. Landing between two pads can quickly turn into a strained ankle.

3. Know your pads
Pad firmness: Stiffer pads are better on top for big falls and foot-first landings because they spread the impact more evenly, and you are less likely to twist ankles.
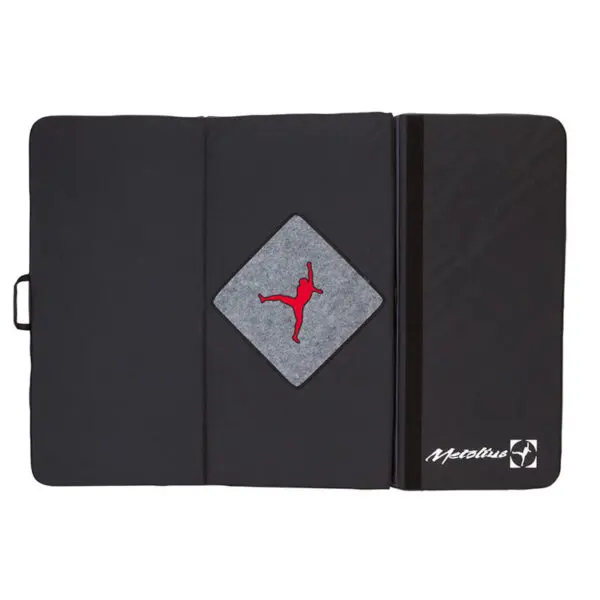
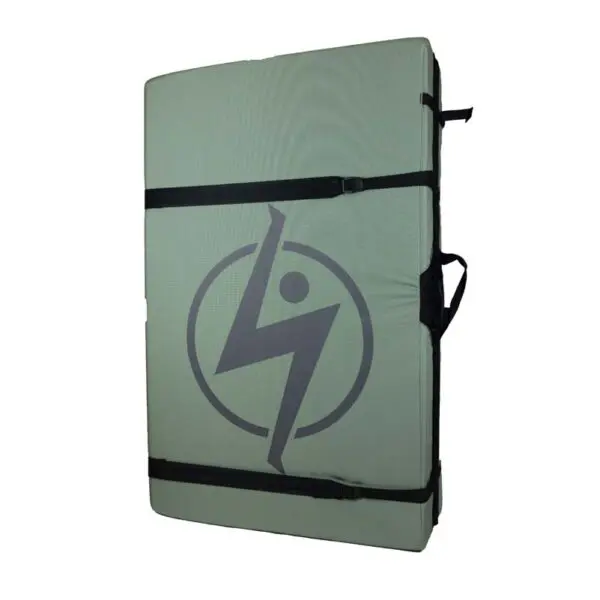
- Highball problems: Use a large enough mat or multiple pads to cover a larger area. If you’re looking for a larger pad, Metolius Magnum is a great choice for this, despite it not being as thick as other “highball” pads.
It’s easy to handle and feels pretty balanced on your back, considering the size. Moreover, the big storage pocket for essential storage makes your life easier, and its trifold design comes in a triple foam layer that spreads the impact from violent falls. - Softer pads: Useful in certain scenarios, such as falls onto your back. However, they tend to compress more and increase the chance of sprains and twisted ankles during a hard landing. Many crash pads are built with dual-density foam, so if you’re not sure which side is which, unzip it and take a look. The stiffer side always goes up.
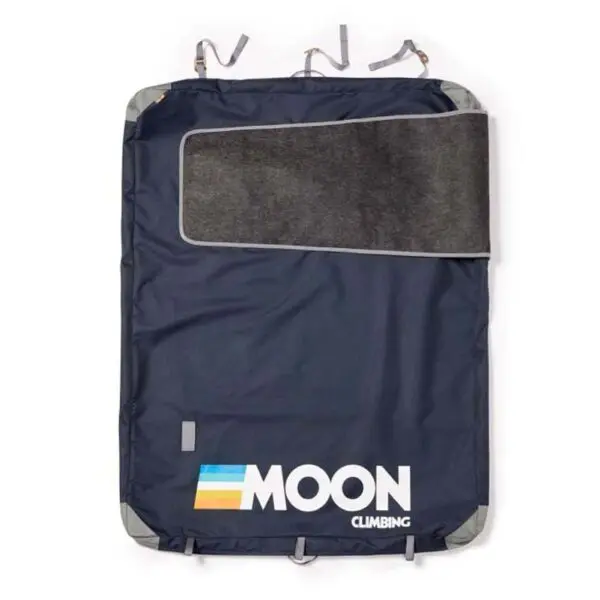
Note: Make sure your bouldering pad is thick enough, and if the access to the boulders is usually long you might want to look for a specific pad like Moon Saturn Crash Pad
that’s comfortable for your back.
Choosing the shape of your bouldering mat
The classic Taco
Once a staple in the bouldering world, taco pads are now becoming less common. These pads are simple, affordable, and easy to carry. With no hinge in the middle, they fold in a curved “taco” shape, which makes them great for uneven or rocky terrain since they conform more naturally to the ground.
However, taco pads do have a downside: when stored folded for long periods, the foam will start to break, so this means it will become more difficult to lay them flat.
Ideal for a range of bouldering scenarios, the Warrior Crash Pad offers both comfort and practicality for your climbing adventures.
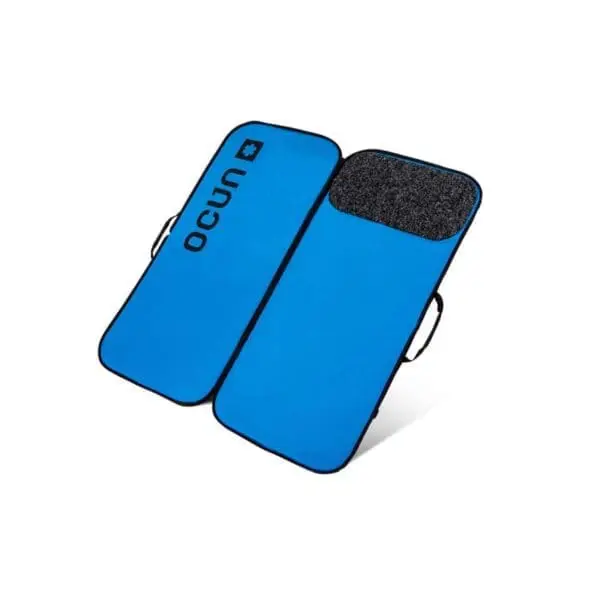
The Hinged pad
Hinged pads are easy to carry, fold, and store, and protect well on flat terrain. But there’s a catch: on uneven ground, you must be careful with the placement because the hinge can also create a weak spot.
If you’re not careful, sharp rocks or uneven surfaces can sit right under the fold, increasing the risk of injury.
To minimize this, look for pads with angled or reinforced hinges – some, like the Mad Rock from Metolius or Session II.
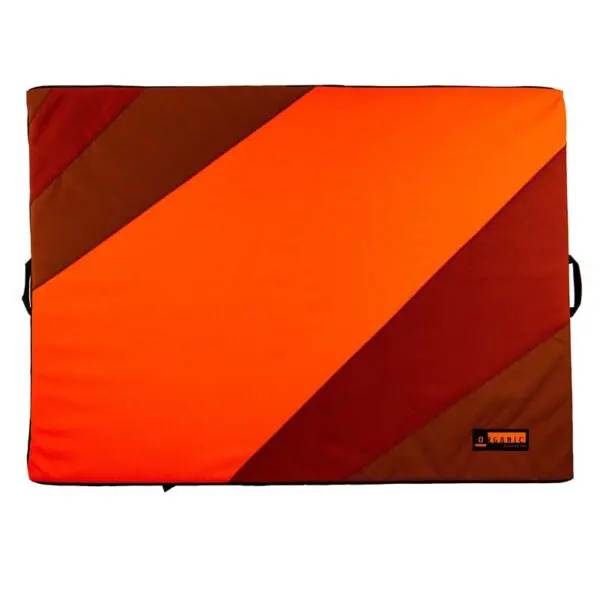
The Hybrid hinge pad
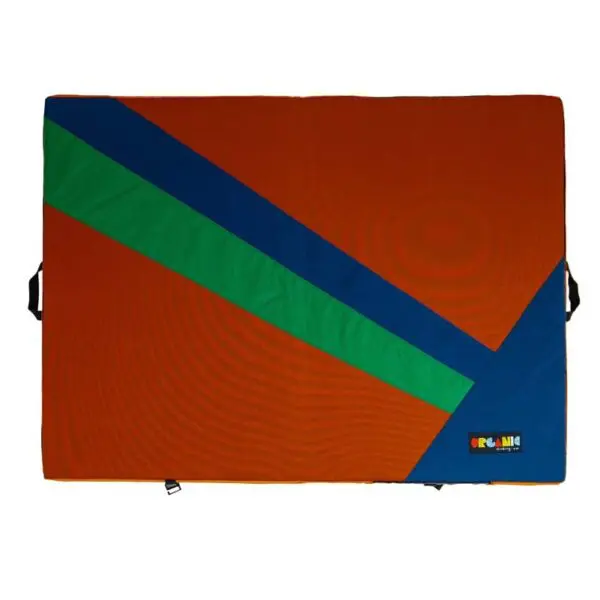
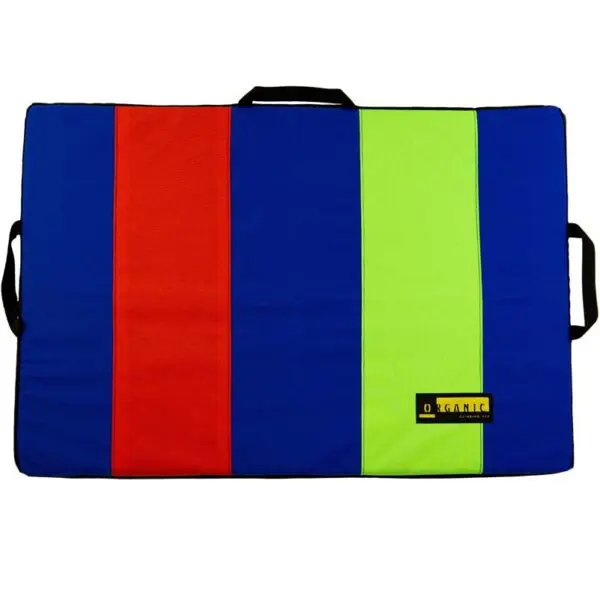
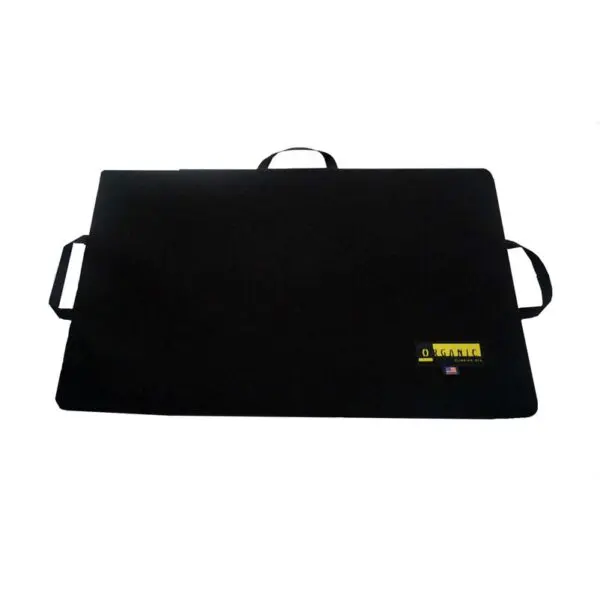
The hybrid hinge combines the best of both worlds: a continuous top layer of foam (like a taco pad) and a hinged bottom layer for easy folding and storage. It is found exclusively in Organic Climbing’s pads, and is basically the modern pad: a smart evolution of traditional designs.
Their specific shape effectively eliminates the “dead spots” that standard hinge pads can have and reduces the risk of hidden hazards underneath the hinge. It’s a great option if you want both safety and convenience.
The Baffled pad
This type of crash pad is sort of an innovation in the crash pad market, but it is not for general use. Its segmented structure makes baffled pads some of the best pads for rocky or irregular ground because it allows it to protect you well from roots, rocks, and any uneven surface.
It also covers a wide area and offers excellent impact absorption.
The Mad Rock R3 uses a baffled design – seven separate foam tubes wrapped in a durable shell. Made from recycled foam, it’s also one of the more eco-friendly options out there.
The downside? It’s heavier than most pads (around 20 lbs) and typically more expensive, but many climbers find the versatility worth it.
How important spotting is for bouldering safety
On bouldering, we don’t use harnesses or ropes. But we use good spotters and properly placed crash pads to replace the two. Good spotting can significantly reduce the risk of serious injury and is an additional “layer” of protection.
A good spotter should:
- Stay alert and focused
- Guide the climber toward the pad, not catch them when they fall from high tops
- Keep their hands up and ready to direct the fall
- Adjust pads as the climber moves up or across

Learn how to fall to avoid bouldering injuries
Even the best pad placement won’t help if you don’t know how to land. Learning how to fall is a skill that can be improved and one that can save you from bad injuries. Falling in bouldering, just like in sport climbing, can be controlled and active, almost like a jump.
Generally, there are three main orientations that you can fall down in: vertical, on your back, and on your front.
If you’re in the habit of watching videos of pro climbers bouldering, watch them again! Observe how they:
- Almost always land feet first with knees slightly bent, ready to absorb impact. This reduces stress on joints and maintains balance.
- If the fall has momentum, they roll backward or to the side upon landing to distribute the force and avoid injury to ankles, knees, or back.
- They are very aware of pad placement and may direct spotters to adjust them mid-session. They also check for gaps and uneven surfaces before attempting a climb.
- Controlled fall: Rather than fighting for their lives and holding on until they pop, pros often choose when to fall, so they minimize awkward landings.
Watch must-know tips in outdoor bouldering:
Have fun and climb smart
Bouldering is more than scrambling over some rocks. Is about awareness, preparation, and teamwork. And fun!
Whether you’re climbing your first V1 or projecting a highball, smart pad placement, falling skills, and good spotting can make the difference between a fun session and a frustrating injury.
Ultimately, bouldering is not just about reaching the top and thickening the grade – if you’re in only for this, you’re doing it wrong! Bouldering is about enjoying the journey and the camaraderie.
Take the time to observe details and learn from each climb, including how to use bouldering pads effectively.
Happy injury-free climbing!
Products related to this article


Black Diamond


Troll


Black Diamond


Metolius


Flashed Climbing


Moon
0 Comments